")
Fall is in the air! How about some DIY fall floral decor?
This display is a perfect addition to any fall celebration!
Click here to watch this segment on Houston Life
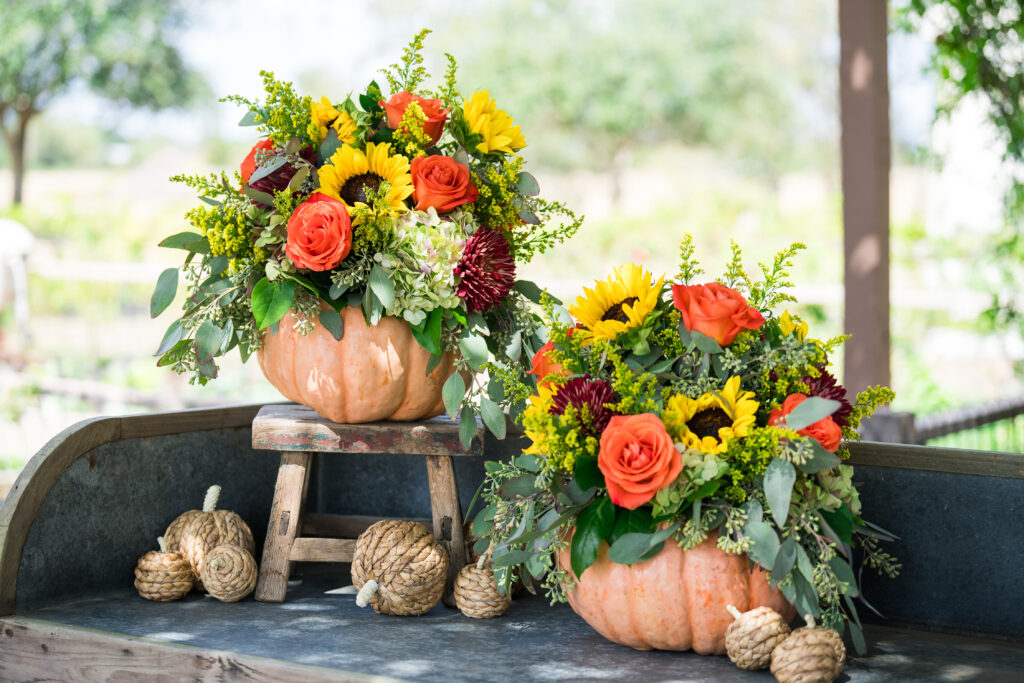
DIY FALL PUMPKIN ARRANGEMENT
Materials needed:
- Pumpkin – any variety
- Scissors and a sharp knife
- Floral foam
- Clear liner or container
- Various flowers (mums, roses, dahlias, fall leaves, stock, hydrangeas, berries, wheat, etc.) and greenery (seeded eucalyptus, lemon leaf, etc.) Forage your yard for colorful leaves, pinecones, and other flora too!
Step 1:
Carve your pumpkin so it is free from all seeds and pulp. The sharp edge of a spoon is always a good tool for scooping out pulp. Be sure to keep the seeds to bake for snacking!
Tip: Choose a pumpkin with a flat base so the arrangement is sturdy on your table. Be sure your pumpkin is free of flaws, and soft spots, especially on the bottom.
Step 2:
Use your liner or container and trace a line around the top of the pumpkin. This will ensure a snug fit. Next, take your clear liner and fill with wet floral foam that has been shaped to the liner. Use floral tape to adhere the foam to the liner in a crisscross fashion. Be sure there is water in the liner so the foam continues to hydrate the flowers. It is also a good idea to add floral food to increase the longevity of the arrangement.
Tip: To extend the life of your carved pumpkin, mix 2 tablespoons of bleach with 2 cups of water in a spray bottle. Lightly spray the inside of the pumpkin and allow it to dry. Then, apply petroleum jelly to all cut surfaces to help seal them. If the pumpkin is for display only, opt for battery-operated candles instead of real flame candles.
Step 3:
Design away! Here is where you can let your creativity shine! I like to add my greenery first to create a base, then add my focal flowers, followed by intermediate flowers, then I fill in the gaps with filler flowers. Be sure to use a sharp knife and cut all stems at a 45-degree angle so there is more surface area to uptake water through the stem. Rotate the arrangement to ensure it is nicely decorated from all sides. If you have a rotating turntable, use it! It makes this process easier, especially when turning heavier arrangements.
Notes:
- If you’d rather skip carving your pumpkin, you can easily attach wet floral foam to the stem and build your arrangement right on top! Another option is to plant directly inside the pumpkin—just hollow out half of the interior, fill it with soil, and add your plants. As the pumpkin starts to decompose, you can plant it in your garden, where it will naturally enrich the soil.
- For a different look – try using spray adhesive atop a pumpkin. Press down moss and glue various succulents for an arrangement to last all season long!
NEW BOOK COMING JANUARY 2025!
My new book, The Vintage Farmhouse Garden will be available for pre-sale at the beginning of January 2025. Click here to add your name to the presale list!


